
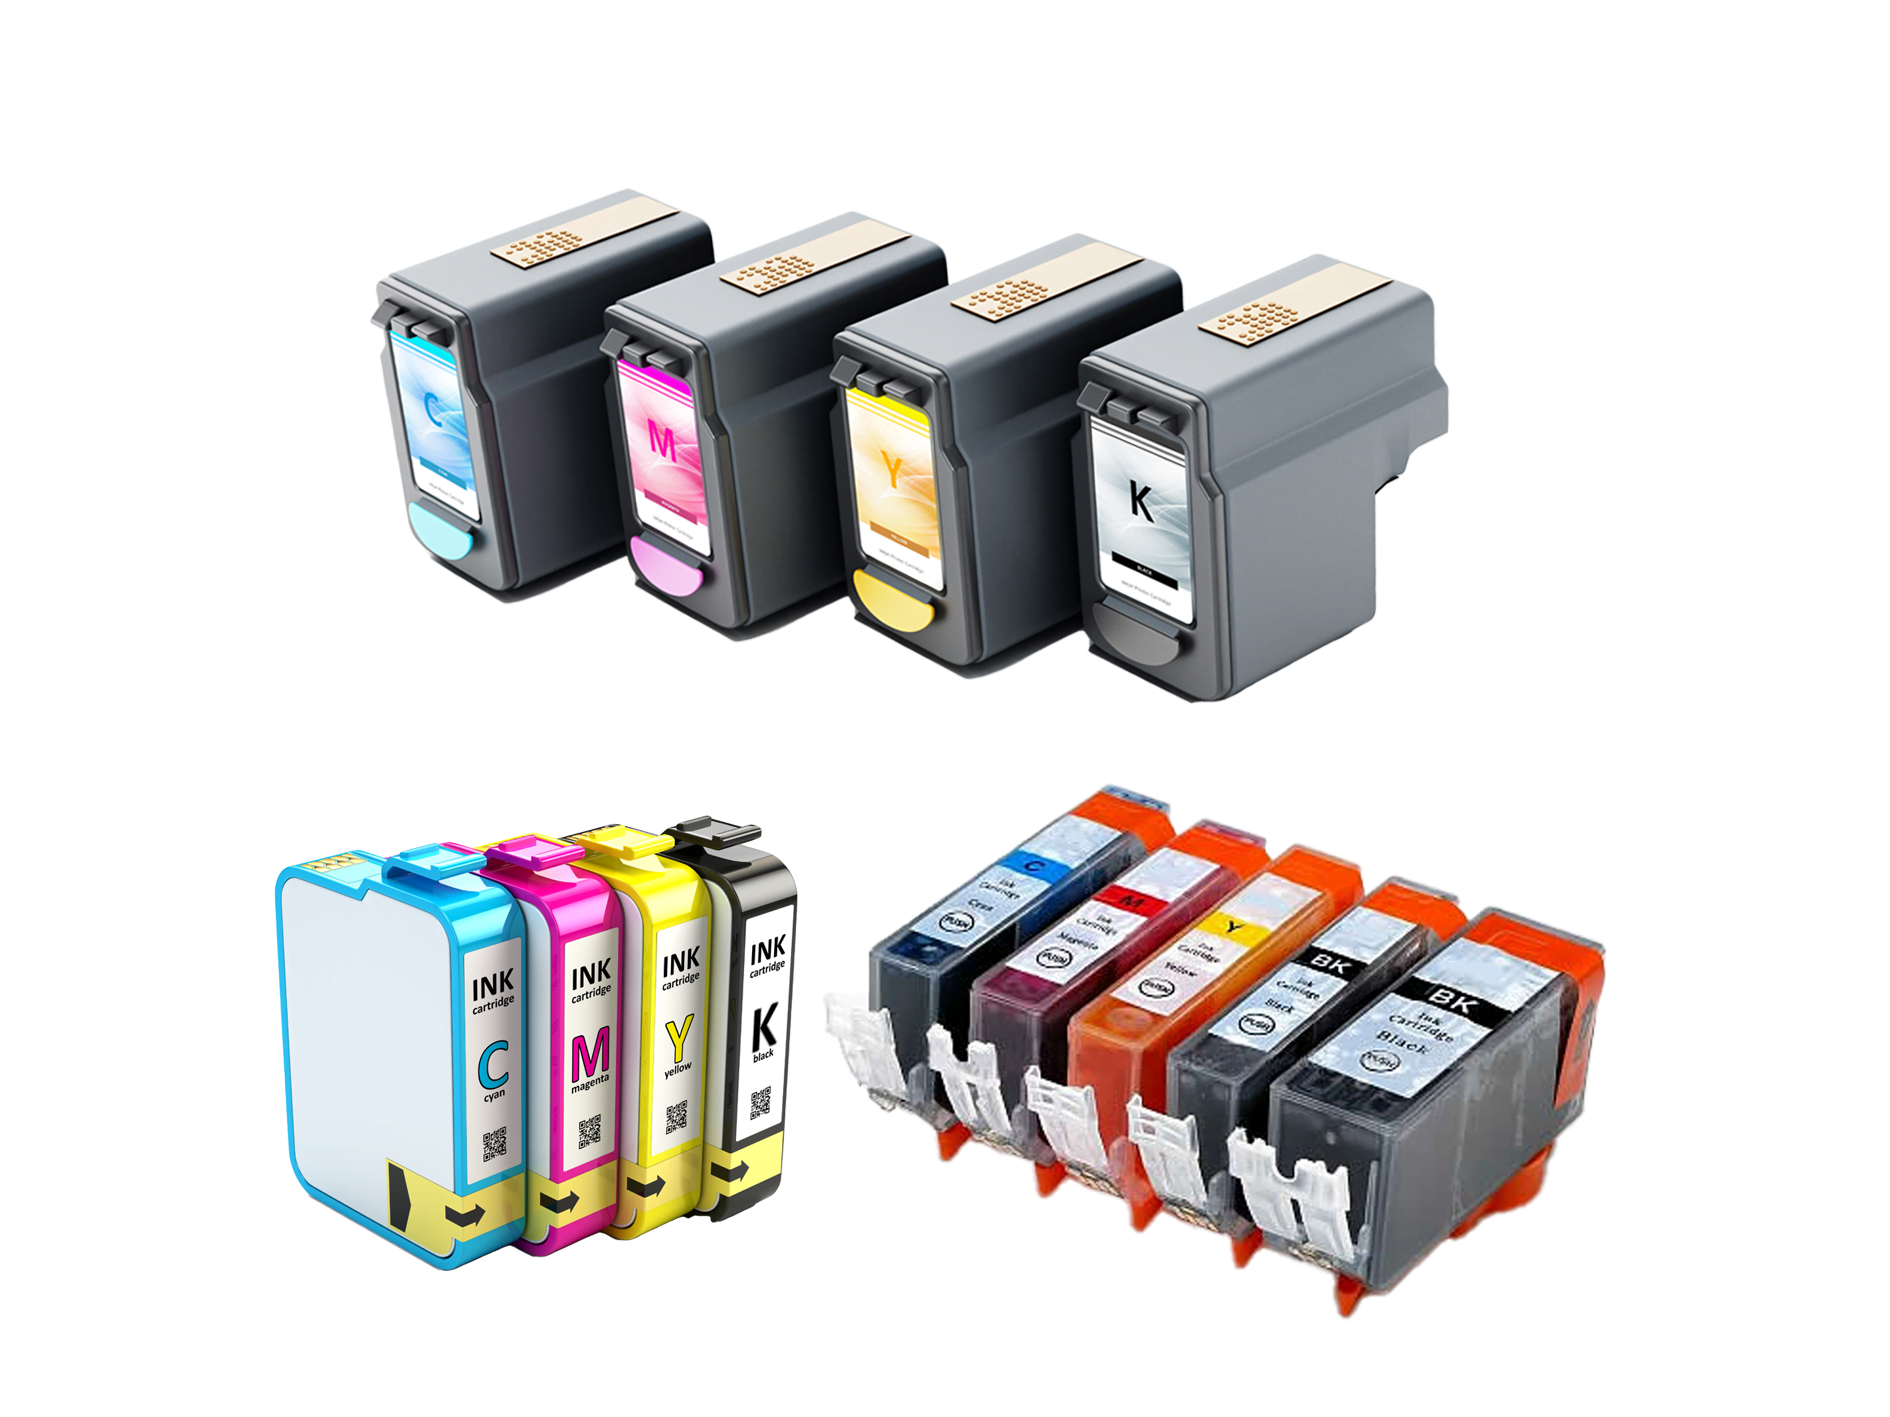
 by Printer Brands


 Other
Other
In the world of photography printing, few elements have as much impact on the final result as ink density. Whether you’re a professional photographer in Singapore looking to showcase your portfolio or an enthusiast wanting to preserve precious memories, understanding how ink density affects your prints can be the difference between mediocre results and stunning, gallery-worthy images. This comprehensive guide explores the technical and practical aspects of ink density and how it influences the vibrancy, depth, and longevity of your photo prints.
Why Ink Density Matters in Photography Printing

Comparison of optimal vs. poor ink density in photo prints of the Singapore skyline
Ink density refers to the concentration of colourant in printing ink and how much of it is deposited on the paper. It’s measured in optical density units and directly impacts colour saturation, image depth, and overall print quality. In Singapore’s humid climate, understanding ink density becomes even more crucial as environmental factors can affect how ink interacts with paper.
When ink density is optimised, your prints showcase rich blacks, vibrant colours, and smooth gradients. Conversely, insufficient ink density results in washed-out images lacking depth and detail. Too much ink can lead to oversaturation, bleeding, and longer drying times, which may damage your prints.
Need Guidance on Print Quality?
Printing blogs can help you achieve the ideal ink density for your specific photography needs.
Visit InkWorld.sgKey Considerations for Optimal Ink Density

Fine-tuning ink density settings for optimal print results
Paper Type and Ink Compatibility
Different paper types absorb ink differently. Glossy papers require different ink density settings than matte or fine-art media. High-quality photo paper designed for inkjet printers typically features special coatings that help control ink absorption and prevent bleeding, enabling higher ink density without compromising quality.
Printer Technology and Capabilities
Modern photo printers offer varying levels of control over ink density. Professional-grade printers from Canon and Epson allow precise adjustments through their drivers or dedicated software. Entry-level printers may have fewer options, but still benefit from understanding basic ink density principles.
Colour Profiles and Calibration
Proper colour management is essential for consistent ink density. Using calibrated monitors and appropriate ICC profiles ensures that what you see on screen matches what you print. In Singapore’s photography community, colour accuracy is particularly valued for portfolio work and client deliverables.
Signs of Insufficient Ink Density
- Faded, washed-out appearance
- Lack of detail in shadow areas
- Poor colour saturation
- Visible paper white in solid areas
- Weak blacks and greys
Signs of Excessive Ink Density
- Ink bleeding or spreading
- Extended drying times
- Paper warping or cockling
- Loss of fine detail
- Overly dark shadow areas
Technical Aspects of High-Resolution Printing

Microscopic view of ink droplet placement in high-resolution printing
DPI and PPI: Understanding Resolution
Dots per inch (DPI) and pixels per inch (PPI) are crucial metrics in high-resolution printing. While PPI refers to image resolution, DPI indicates how many ink dots the printer places per inch. Higher DPI values allow for finer control of ink density and smoother gradients. Most professional photo printers offer 4800 DPI or higher for exceptional detail reproduction.
Ink Droplet Technology
Modern photo printers use sophisticated technologies to control ink droplet size and placement. Variable droplet technology allows printers to deposit different-sized ink dots, from as small as 1.5 picoliters to larger droplets, enabling both fine detail and solid colour areas with optimal ink density.
| Printer Technology | Minimum Droplet Size | Ink Density Control | Best For |
| Thermal Inkjet | 1.5-3 picoliters | Good | General photography, everyday prints |
| Piezoelectric | 1.5-3.5 picoliters | Excellent | Fine art, professional photography |
| Dye-Sublimation | N/A (Continuous tone) | Very Good | Portrait photography, smooth gradients |
Multi-Ink Systems
Professional photo printers utilise multiple ink cartridges beyond the basic CMYK (Cyan, Magenta, Yellow, Black). Additional inks, such as light cyan, light magenta, red, and multiple black/grey inks, allow for more precise ink density control and a wider colour gamut. Canon’s LUCIA Pro and Epson’s UltraChrome systems exemplify this approach, offering up to 12 different ink colours for exceptional print quality.
How Ink Density Affects Photography Printing Quality
Progressive ink density comparison showing impact on portrait photography
Colour Gamut and Vibrancy
Optimal ink density directly expands the colour gamut your printer can reproduce. Higher density allows for more saturated colours and richer tones, particularly important for landscape and nature photography, where vibrant greens, blues, and reds need to be accurately reproduced. Singapore’s lush botanical gardens and vibrant urban landscapes particularly benefit from proper ink density to capture their true essence.
Dynamic Range and Detail Preservation
Proper ink density ensures both highlight and shadow details are preserved. In high-key images, such as wedding photography, controlled ink density prevents highlights from appearing washed out. For low-key images with dramatic shadows, appropriate ink density maintains detail while preserving the deep blacks that give the image dimension.
Print Longevity and Archival Quality
Ink density affects not just immediate appearance but also long-term print stability. Optimal density ensures sufficient colourant is present to resist fading from light exposure. In Singapore’s climate, where humidity and light can accelerate fading, proper ink density combined with archival papers and pigment-based inks is essential for lasting prints.
Ready to Upgrade Your Printing Experience?
Explore a selection of professional photo printers optimised for perfect ink density control.
Shop Quality Photo PrintersBest Practices for Singapore-Based Photographers

Professional calibration process for optimal printing in Singapore’s climate
Climate Considerations for Singapore
Singapore’s high humidity (averaging 80-90%) presents unique challenges for photo printing. Excess moisture in the air can affect how ink interacts with paper and influence drying times. Consider these Singapore-specific recommendations:
- Store paper in airtight containers with desiccants to prevent moisture absorption
- Use dehumidifiers in your printing area to maintain optimal conditions
- Allow longer drying times for prints, particularly with higher ink density settings
- Consider slightly lower ink density settings during the most humid months (November-January)
Printer Maintenance for Optimal Performance
Regular maintenance ensures consistent ink density and prevents clogging, particularly important in Singapore’s climate:
- Run nozzle checks and cleaning cycles weekly, especially if the printer isn’t used daily
- Keep printers powered on to maintain automatic maintenance cycles
- Use printer covers when not in use to prevent dust accumulation
- Schedule professional cleaning every 6-12 months for optimal performance
Calibration and Profiling
For consistent results, calibrate your entire workflow:
Monitor Calibration
Use a hardware calibration device, such as X-Rite i1Display Pro or Datacolour SpyderX, to ensure your monitor accurately displays colours.
Printer Profiling
Create custom ICC profiles for each paper/ink combination you use regularly. Services like Cathay Colour in Singapore offer professional profiling.
Regular Recalibration
Recalibrate monthly, as equipment drift and environmental changes can affect colour accuracy over time.
Recommended Photo Printers for Ink Density Control

Professional-grade photo printers with superior ink density control capabilities
Entry-Level Options
Canon Pixma G620
An excellent entry point for photographers concerned with ink density. Its six-ink system includes dedicated red and grey inks for enhanced colour reproduction and smoother gradients. The MegaTank system allows for economical printing while maintaining quality.
- Six dye-based inks for excellent photo quality
- Economical refillable ink tanks
- Good ink density control for the price point
- Ideal for A4/Letter sized prints
Mid-Range Professional Options
Canon Pixma Pro-200S
This 13-inch printer offers exceptional ink density control with its eight-colour dye-based ink system. Particularly well-suited for glossy and lustre papers, it delivers vibrant prints with excellent colour accuracy and smooth gradients.
- Eight-colour dye-based ink system
- Excellent for glossy prints with vibrant colours
- 3-inch LCD screen for easy operation
- Supports up to 13-inch (A3+) prints
High-End Professional Options
Canon ImagePrograf Pro-310
For photographers who demand the ultimate in ink density control, the Pro-310 delivers with its 10-ink Lucia Pro II system. The addition of a Chroma Optimiser ensures even ink density on glossy media while maintaining exceptional performance on matte and fine-art papers.
- Ten-ink system with Chroma Optimiser
- Superior ink density control across all media types
- Exceptional black density for dramatic monochrome prints
- Supports borderless printing on all media types
Testing and Adjusting Ink Density

Professional ink density test chart with measurement tools
Creating Test Prints
Before committing to large or important prints, create test prints to evaluate and adjust ink density:
- Print a standardised test image containing colour gradients, skin tones, and black-to-white transitions
- Create multiple versions with different ink density settings (usually adjustable via “colour density” or “ink volume” controls in printer settings)
- Label each print with the settings used for future reference
- Evaluate under proper lighting conditions (ideally D50 standard lighting or a colour-neutral light source)
Evaluating and Adjusting
When examining test prints, look for these key indicators:
Visual Assessment
- Check shadow details – are dark areas showing detail or blocking up?
- Examine colour transitions – are gradients smooth or showing banding?
- Look at solid colour areas – are they even and vibrant without bleeding?
- Evaluate black density – are blacks rich and deep without appearing muddy?
Technical Assessment
- Use a densitometer for objective measurements if available
- Check drying time – prints with excessive ink density take longer to dry
- Examine print under different lighting conditions
- Look for metamerism (colour shifts under different light sources)
Master Your Print Quality
Learn about advanced printing techniques and ink density optimisation for photographers in Singapore.
Learn moreCommon Ink Density Issues and Solutions

Identifying and resolving common ink density issues in photo printing
Problem: Oversaturated Prints
Symptoms: Colours appear unnaturally vibrant, ink bleeding, extended drying times, and paper warping
Solutions:
- Reduce ink density/volume in printer settings
- Switch to paper with higher absorption capacity
- Ensure proper colour management with accurate profiles
- Allow longer drying times between print handling
Problem: Washed-Out Prints
Symptoms: Dull colours, lack of contrast, weak blacks, visible paper white in dark areas
Solutions:
- Increase ink density/volume in printer settings
- Check for clogged nozzles and run cleaning cycles
- Verify you’re using the correct paper profile
- Consider using paper with optical brighteners for more vibrant results
Banding and Uneven Ink Distribution
Banding appears as visible lines or stripes across prints and often relates to ink density issues:
- Horizontal banding: Often caused by print head alignment issues or clogged nozzles
- Vertical banding: May indicate paper feed problems or uneven ink application
- Solution: Run print head alignment, nozzle checks, and cleaning cycles; ensure paper is loaded correctly
Metamerism and Colour Shifting
When prints look different under various lighting conditions:
- Use pigment-based inks, which are less prone to metamerism than dye-based inks
- Evaluate prints under the lighting conditions where they’ll be displayed
- Consider specialised “daylight” or “museum” papers designed to minimise metamerism
Frequently Asked Questions About Ink Density

Expert addressing common questions about ink density optimisation
How does Singapore’s humidity affect ink density requirements?
Singapore’s high humidity (80-90% average) can slow ink drying and cause paper to absorb more moisture. This often requires adjusting ink density settings by 5-10% below manufacturer defaults to prevent oversaturation and bleeding. Using a dehumidifier in your printing area can help maintain more consistent results year-round.
Does ink density affect print longevity?
Yes, ink density directly impacts print longevity. Insufficient ink density can lead to faster fading as there’s simply less colourant present to resist light degradation. However, excessive ink density can cause physical issues, such as cracking or flaking, as prints age. The optimal balance provides enough colourant for longevity without compromising physical stability.
Are pigment or dye inks better for controlling ink density?
Both ink types offer good density control but behave differently. Pigment inks sit on the paper surface, allowing for higher apparent density without excessive absorption. Dye inks penetrate the paper, creating smoother transitions but potentially requiring higher volumes for the same density. For critical work in Singapore’s climate, pigment inks generally offer better stability and humidity resistance.
How do I adjust ink density on my printer?
Most photo printers allow ink density adjustments through their driver settings. Look for options labelled “Colour Density,” “Ink Volume,” or “Colour Intensity.” Professional printing software, such as Canon’s Professional Print & Layout or Epson’s Print Layout, offers more precise control. For best results, create test prints with various settings and evaluate them under proper lighting.
What’s the relationship between resolution and ink density?
Higher resolution (DPI) enables more precise control of ink density by allowing finer droplet placement. A 4800 DPI printer can create smoother gradients with more controlled ink density than a 1200 DPI printer. However, resolution alone doesn’t determine density—the actual amount of ink deposited per area is controlled separately through printer settings.
Enhance Your Printing Knowledge
Download our comprehensive guide to mastering ink density for vibrant photo prints in Singapore’s climate.
Download Free GuideConclusion: Mastering Ink Density for Superior Prints

Gallery showcase of prints with masterfully controlled ink density
Mastering ink density is a journey that combines technical knowledge with artistic sensibility. For photographers in Singapore, understanding how ink density affects your prints—and how to optimise it for our unique climate—can elevate your work from good to exceptional. The interplay between printer technology, paper selection, and environmental conditions all influences the final result.
Whether you’re printing portfolio pieces, client deliverables, or personal projects, the principles outlined in this guide provide a foundation for achieving consistent, vibrant prints with accurate colour reproduction and optimal detail preservation. Remember that experimentation is key—create test prints, adjust settings methodically, and develop a workflow that consistently delivers the results you envision.
As printing technology continues to evolve, the fundamental importance of ink density remains constant. By investing time in understanding and controlling this crucial aspect of the printing process, you’ll ensure your images are presented with the impact and quality they deserve.
Ready to Transform Your Photo Printing?
Visit Singapore’s premier photography printing specialists for personalised advice and services.
Printing Services


